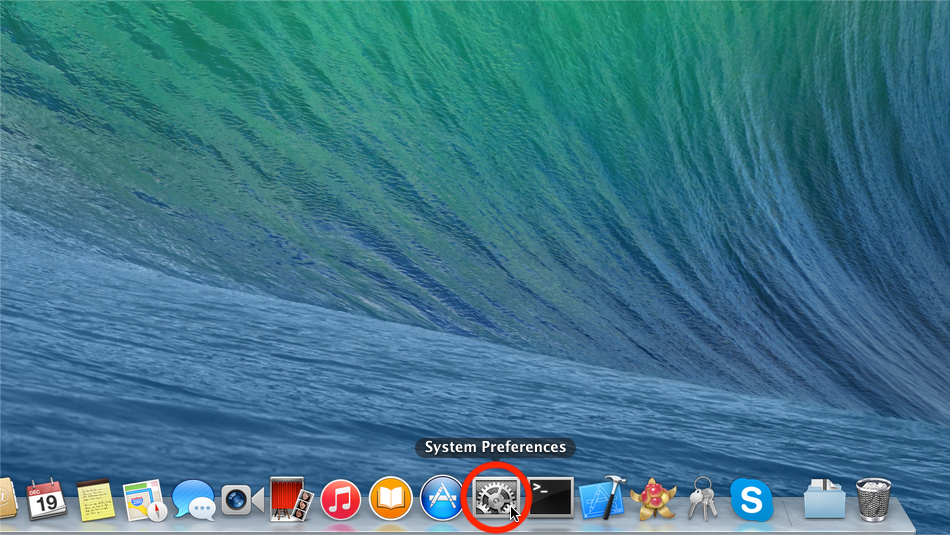
Cliquez sur « Préférences Système... ».
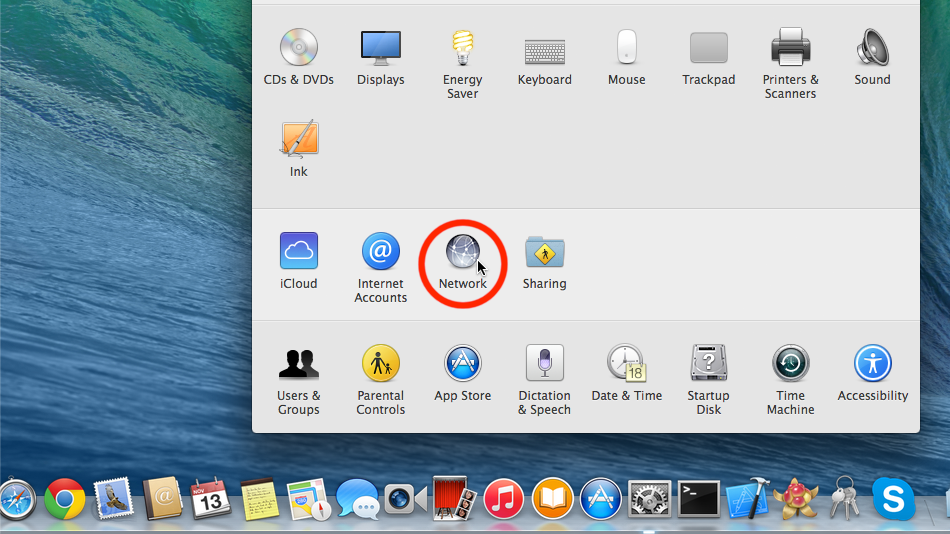
Dans la section « Internet et sans fil », cliquez sur « Réseau ».
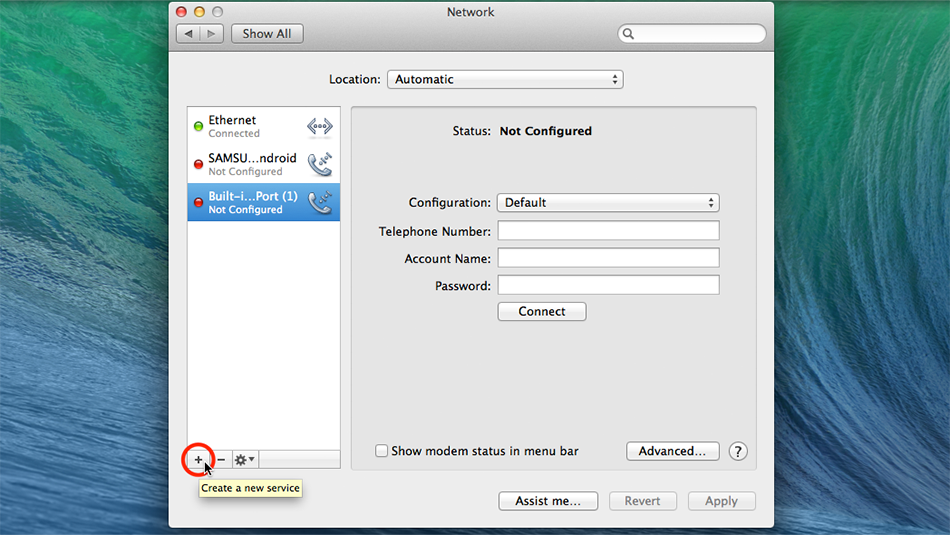
Cliquez sur "+".
Cliquez sur le menu déroulant « Interface » et choisissez « VPN »
Cliquez sur le menu déroulant « Type de VPN » et choisissez « L2TP sur IPSec »
Réglez le nom du service sur « Trust.Zone-Israel », puis cliquez sur « Créer ».
 Trust.Zone-Israel
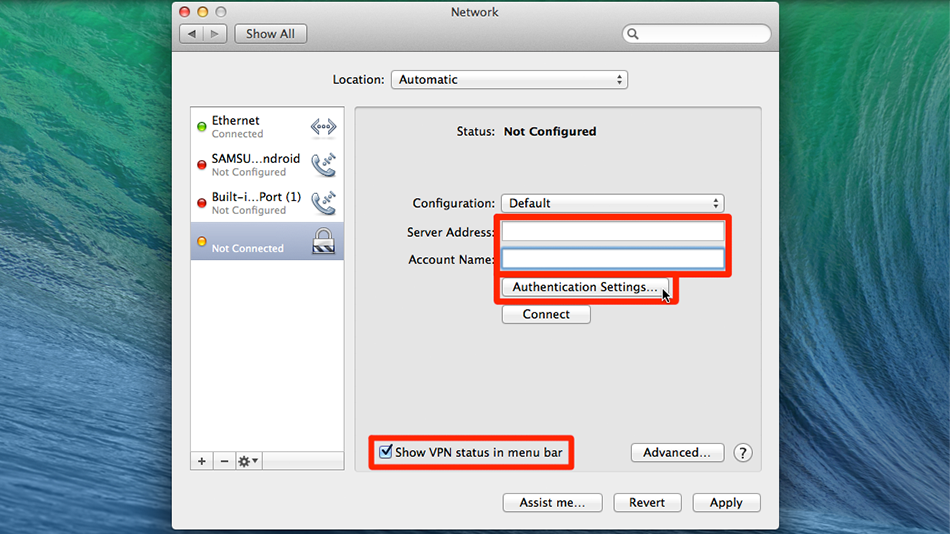
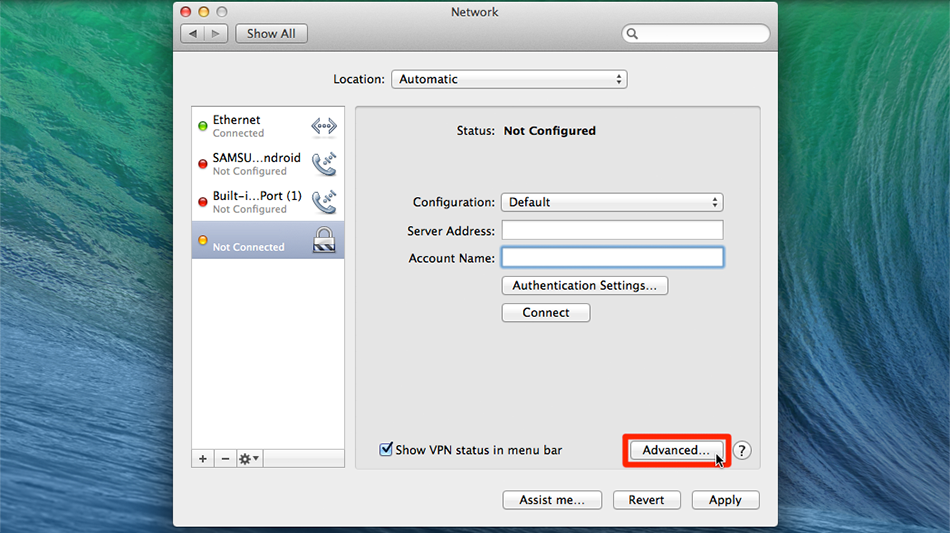
Définir comme « Adresse du serveur »: il.trust.zone. Under "Account Name" enter Caché. Connectez-vous ou inscrivez-vous pour voir.. Afterwards click on "Authentication Settings…".
 Trust....Israel
il.trust.zone
Trust....Israel
il.trust.zone
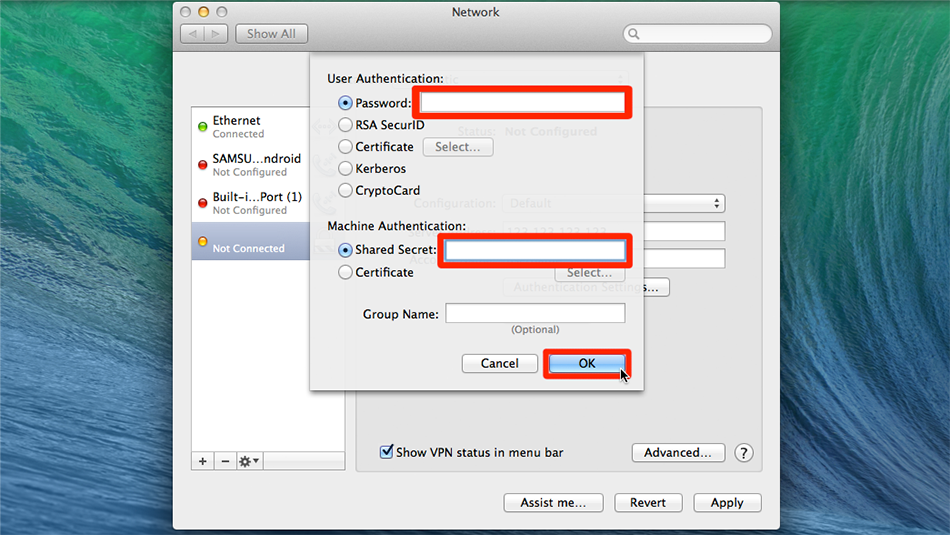
Sous « Mot de passe », entrez Caché. Connectez-vous ou inscrivez-vous pour voir.. Le « secret partagé » est: trustzone.
Ensuite, cliquez sur « OK ».
 Trust....Israel
trustzone
Trust....Israel
trustzone
Cliquez sur « Avancé... ».
 Trust....Israel
il.trust.zone
Trust....Israel
il.trust.zone
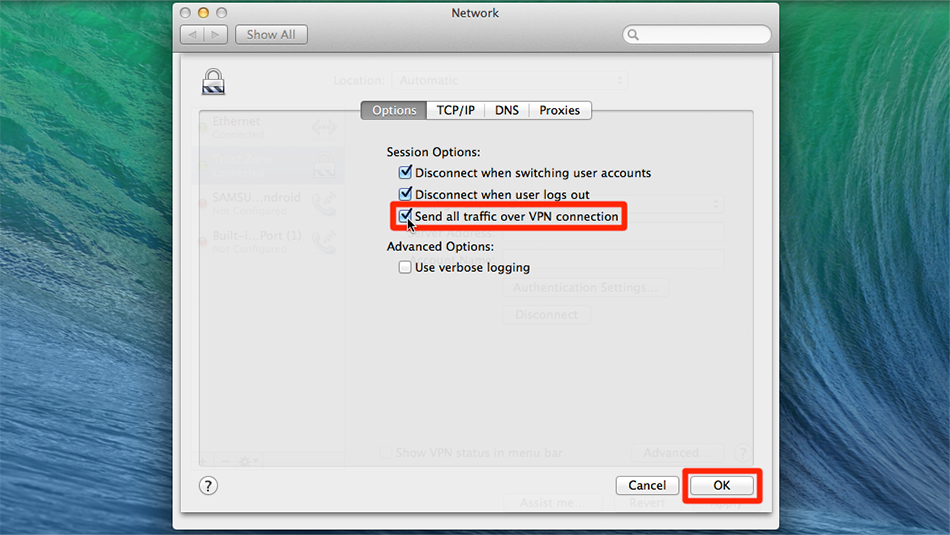
Cochez « Envoyer tout le trafic via une connexion VPN ». Cliquez ensuite sur « OK ».
 Trust.Zone-Israel
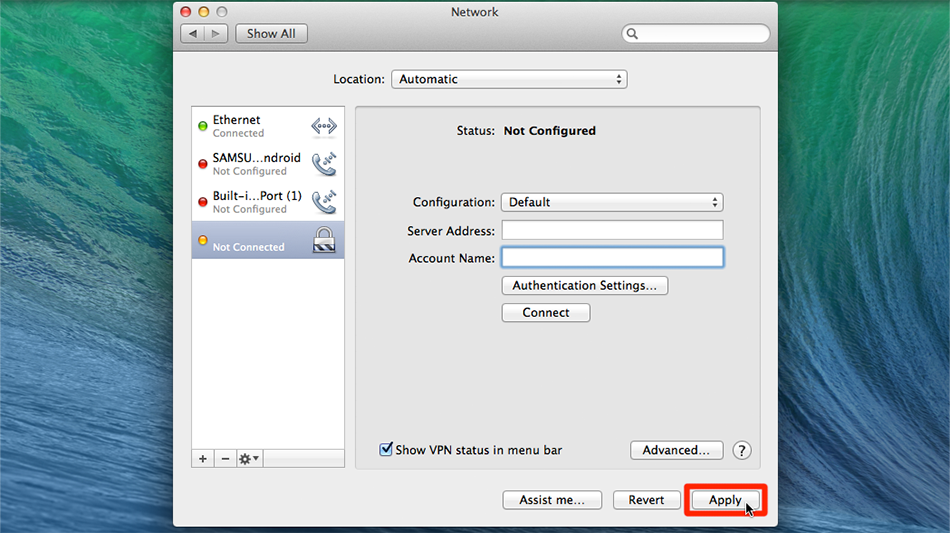
Cliquez sur « Appliquer ».
 Trust....Israel
il.trust.zone
Trust....Israel
il.trust.zone
Cliquez sur « Connecter ».
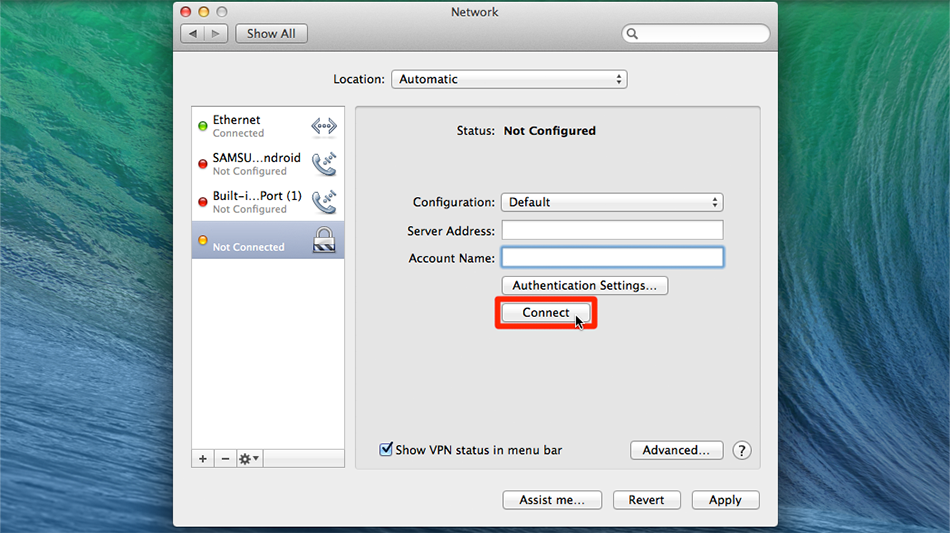 Trust....Israel
il.trust.zone
Trust....Israel
il.trust.zone
Si la connexion a été établie avec succès, l’état est affiché dans la barre de menus. Vous pouvez gérer votre connexion VPN dans les paramètres réseau.
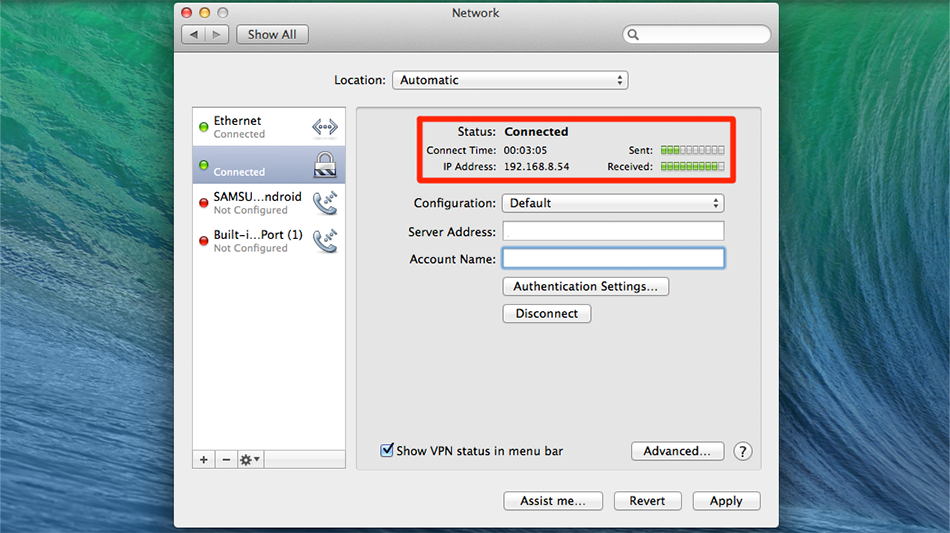 Trust....Israel
il.trust.zone
Trust....Israel
il.trust.zone
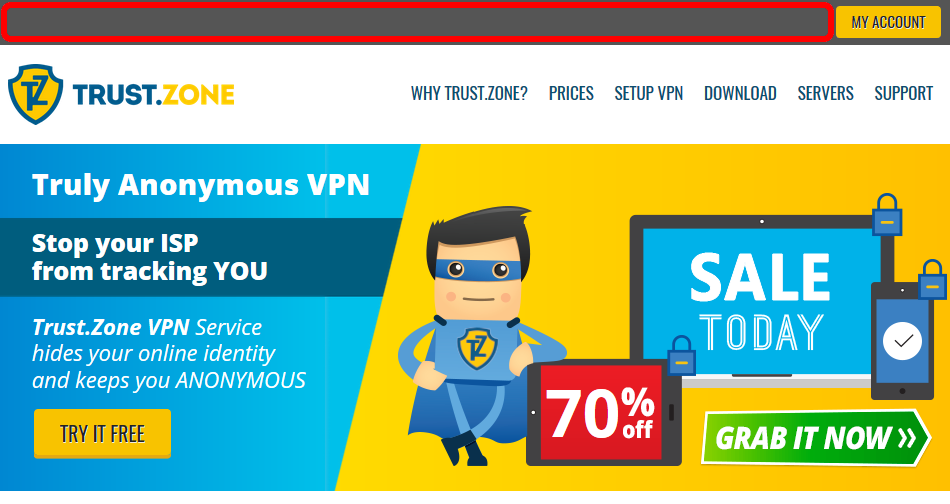
Ouvrez la Page Oprincipale de Trust.Zone et rechargez-la si elle est déjà ouverte afin de vérifier si votre connexion avec le VPN Trust.Zone est correctement établie.
Vous pouvez également visiter notre Page de Vérification de Connexion.
 Votre IP: x.x.x.x ·
  Israël ·
Votre emplacement réel est caché!
Israël ·
Votre emplacement réel est caché!
