Aşağıdaki talimat Ubuntu 20.04 ve Ubuntu 21.10 için uygundur.
Talimatlar, Ağ Yöneticisi için WireGuard istemcisini yükleyerek WireGuard VPN istemcisinin desteğinin Ubuntu Ağ Yöneticisine nasıl ekleneceğini gösterir.
Ubuntu'nun depolarında Ağ Yöneticisi için WireGuard eklentisi yoktur, ancak bunu tarafından yazılan kaynak kodundan derleyebiliriz. max-moser.
Kaynak kodu GutHub'da mevcuttur: https://github.com/max-moser/network-manager-wireguard.
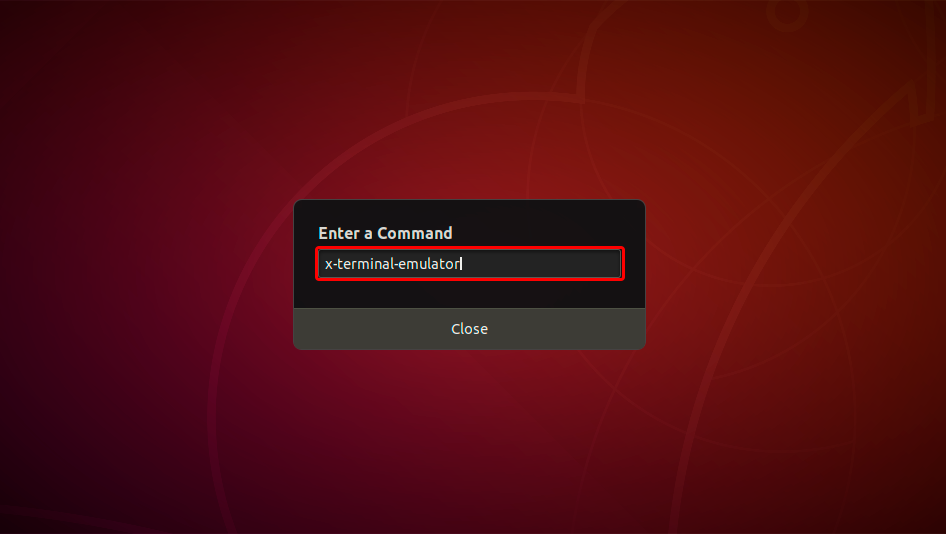
Terminal öykünücüsünü çalıştırın: Alt+F2 tuşlarına basın ve "x-terminal-emulator" yazın ve Enter'a basın.
Öncelikle Ubuntu'nuzu güncellemeniz ve gerekli paketleri yüklemeniz gerekir.
Lütfen aşağıdaki komutları tek tek çalıştırın ve istendiğinde "Y" tuşuna basarak yeni paketleri güncellemeyi ve yüklemeyi onaylayın:
sudo apt-get update
sudo apt install wireguard git dh-autoreconf libglib2.0-dev intltool build-essential libgtk-3-dev libnma-dev libsecret-1-dev network-manager-dev resolvconf
GIT deposundan kaynak kodunu indirmek, derlemek ve kurmak için aşağıdaki komutları tek tek çalıştırın.
git clone https://github.com/max-moser/network-manager-wireguardAfter installations is complete please Reboot your Ubuntu.
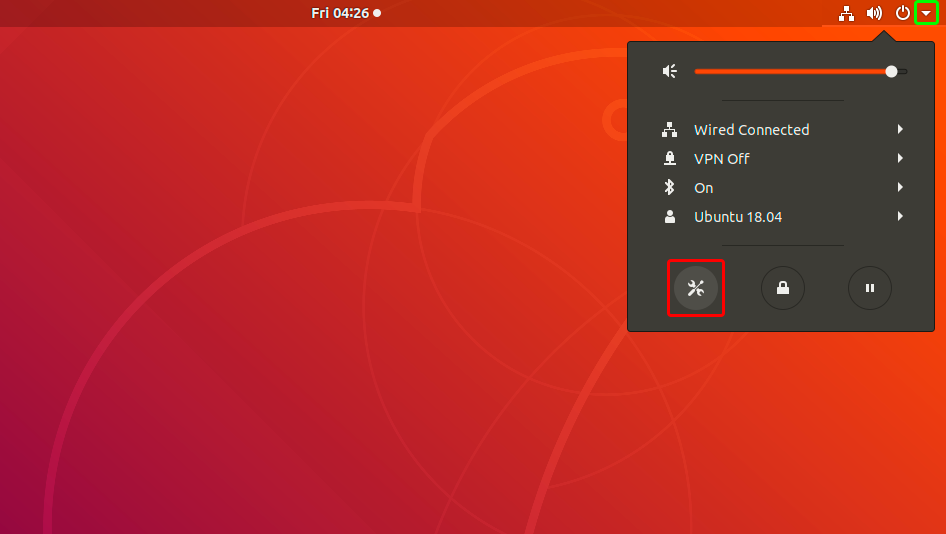
Üst menüyü açın ve Ağ Ayarları'nı açmak için Araçlar simgesini tıklayın.
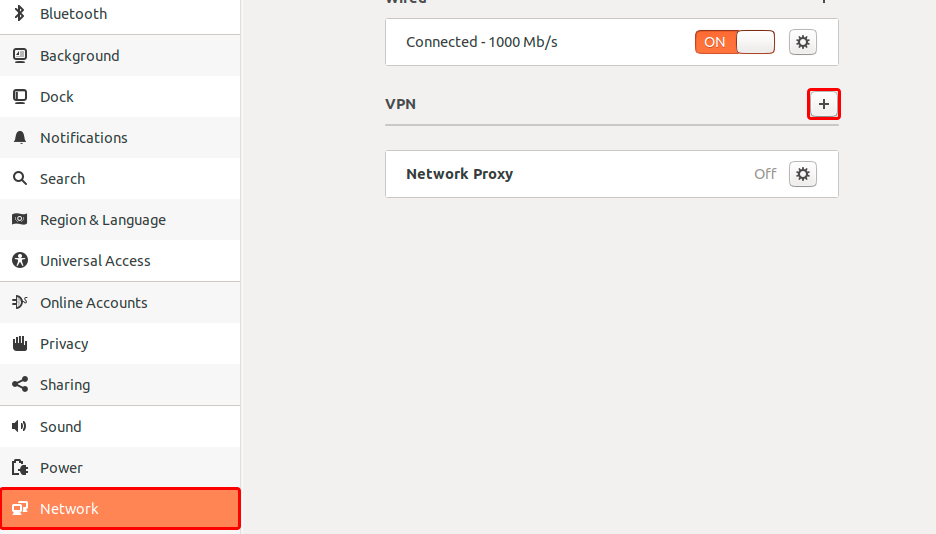
VPN bölümünü bulun ve yeni bir VPN yapılandırması oluşturmaya başlamak için "+" düğmesine tıklayın.
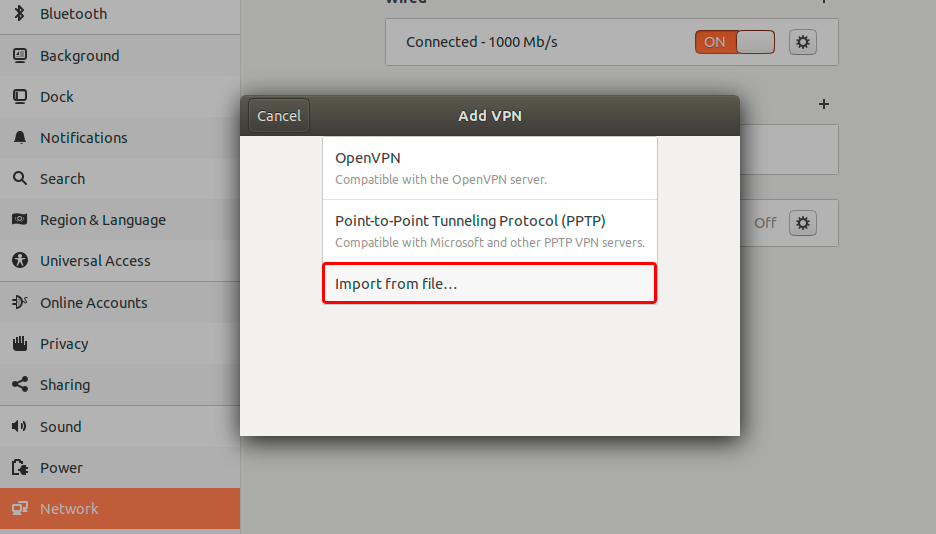
"Dosyadan içe aktar..."a tıklayın.
WireGuard yapılandırma dosyasını (.conf dosyası) indirin, "İndirilenler" bölümünü seçin ve üzerine çift tıklayarak ca-on.tz.conf dosyasını açın.
WireGuard (.conf) dosyası: GİZLİ. Giriş veya görmek için kaydolun.
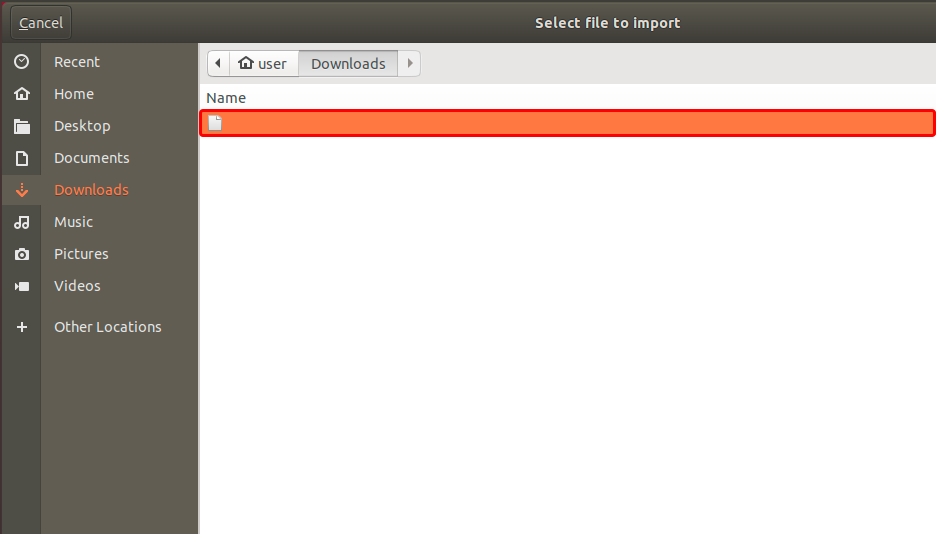 ca-on.tz.conf
VPN yapılandırması eklemek için yeşil "Ekle" düğmesine tıklayın.
 ca-on.tz
Bağlanmaya başlamak için VPN bağlantı adının yanındaki AÇMA/KAPAMA düğmesine tıklayın.
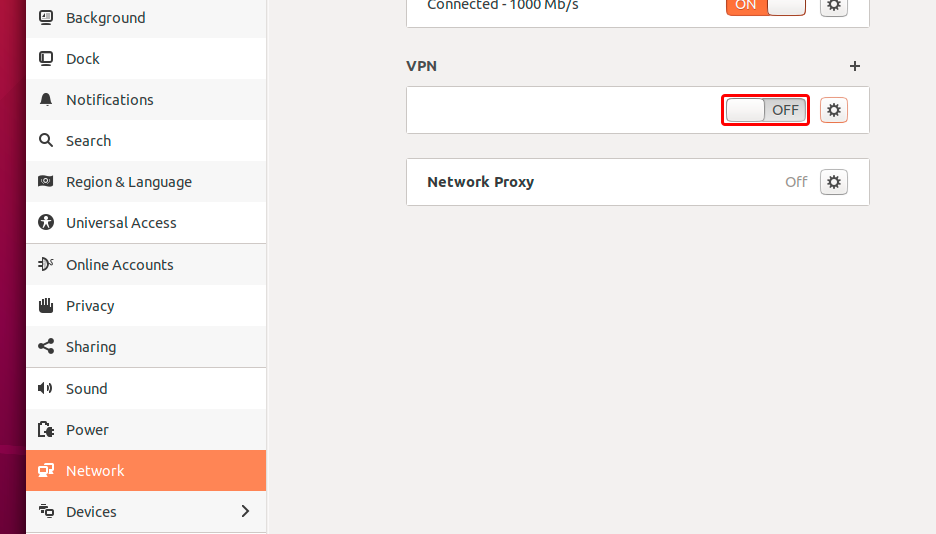 ca-on.tz VPN
Bağlantı kurulduktan sonra, anahtar rengi griden turuncuya değişecektir.
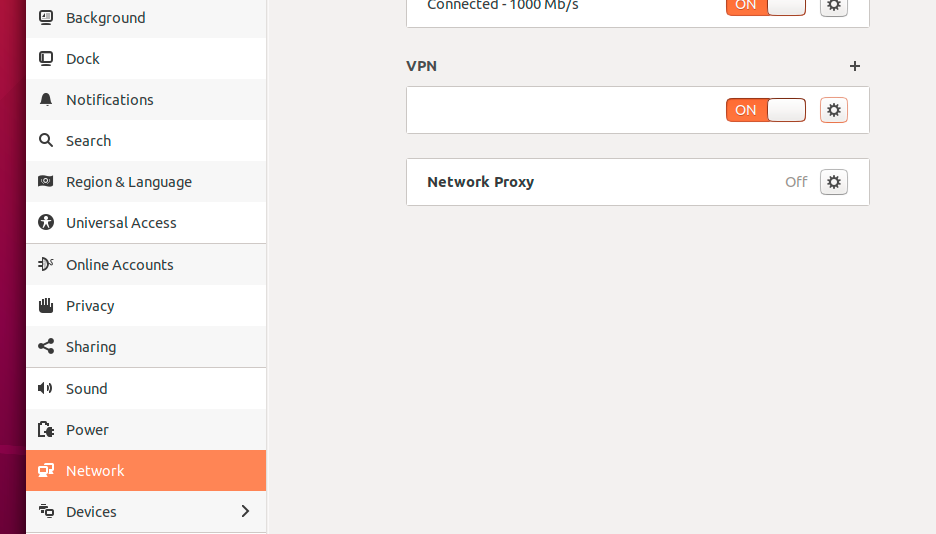 ca-on.tz VPN
Trust.Zone VPN'e bağlandıktan sonra IPv4 IP adresiniz değişecek, ancak IPv6 adresiniz aynı kalacaktır.
ISS'nizin IPv6'yı desteklememesi durumunda bu bir sorun değildir, ancak desteklemesi durumunda IPv6 adresiniz sızabilir.
IPv6'nın sızmasını önlemenin en iyi yolu, linux dağıtımınızda IPv6'yı devre dışı bırakmanızı öneririz. İşte bunu nasıl yapabileceğiniz.
IPv6'nın zaten devre dışı olup olmadığını kontrol etmek için lütfen aşağıdaki komutu çalıştırın:
cat /proc/sys/net/ipv6/conf/all/disable_ipv6
Komut 1 döndürürse, IPv6 zaten devre dışıdır ve aşağıdaki adımları atlayabilirsiniz. Dönüş değerinin 0 olması durumunda, lütfen aşağıdaki talimatları izleyin:
Geçerli Ubuntu oturumu için IPv6'yı devre dışı bırakmak için aşağıdaki komutları çalıştırın:
sudo sysctl -w net.ipv6.conf.all.disable_ipv6=1
sudo sysctl -w net.ipv6.conf.default.disable_ipv6=1
Ubuntu başlangıcı sırasında IPv6'yı devre dışı bırakmak için GRUB yükleyici ayarlarını düzenlemenizi öneririz.
Lütfen /etc/default/grub dosyasını favori metin düzenleyicinizde açın. Örneğimizde nano editör kullanacağız.
sudo nano /etc/default/grub
Aşağıdaki satırları bulun
GRUB_CMDLINE_LINUX_DEFAULT="quiet"
GRUB_CMDLINE_LINUX="find_preseed=/preseed.cfg auto noprompt priority=critical locale=en_US"
GRUB_CMDLINE_LINUX_DEFAULT ve GRUB_CMDLINE_LINUX parametrelerinin değerlerinin sonuna ipv6.disable=1 parametresini ekleyin (tırnak içinde):
Düzenledikten sonra aşağıdaki satırları almalısınız:
GRUB_CMDLINE_LINUX_DEFAULT="quiet ipv6.disable=1"
GRUB_CMDLINE_LINUX="find_preseed=/preseed.cfg auto noprompt priority=critical locale=en_US ipv6.disable=1"
Artık dosyayı kaydedebilir ve düzenleyiciden çıkabilirsiniz. Nano kullanmanız durumunda, değişiklikleri yazmak için Ctrl-O tuşlarına basmanız ve dosya yazmayı onaylamak için Enter tuşuna basmanız gerekir. Ardından düzenleyiciden çıkmak için Ctrl-X tuşlarına basabilirsiniz.
GRUB değişikliklerini uygulamak için aşağıdaki komutu çalıştırın:
sudo update-grub
Komut aşağıdaki çıktıyı döndürür:
user@ubuntu:~$ sudo update-grub

Sourcing file `/etc/default/grub'

Generating grub configuration file ...

Found linux image: /boot/vmlinuz-5.4.0-66-generic

Found initrd image: /boot/initrd.img-5.4.0-66-generic

Found linux image: /boot/vmlinuz-5.4.0-42-generic

Found initrd image: /boot/initrd.img-5.4.0-42-generic

Found memtest86+ image: /boot/memtest86+.elf

Found memtest86+ image: /boot/memtest86+.bin

done
Trust.Zone Ana sayfasını oaçın ve Trust.Zone VPN ile bağlantınızın doğru kurulup kurulmadığını kontrol etmek için zaten açıksa yeniden yükleyin.
Ayrıca Bağlantı Kontrol Sayfamızı da ziyaret edebilirsiniz.
 IP adresiniz: x.x.x.x ·
  Kanada ·
Şimdi TRUST.ZONE! Gerçek konumunuz gizli!
Kanada ·
Şimdi TRUST.ZONE! Gerçek konumunuz gizli!
