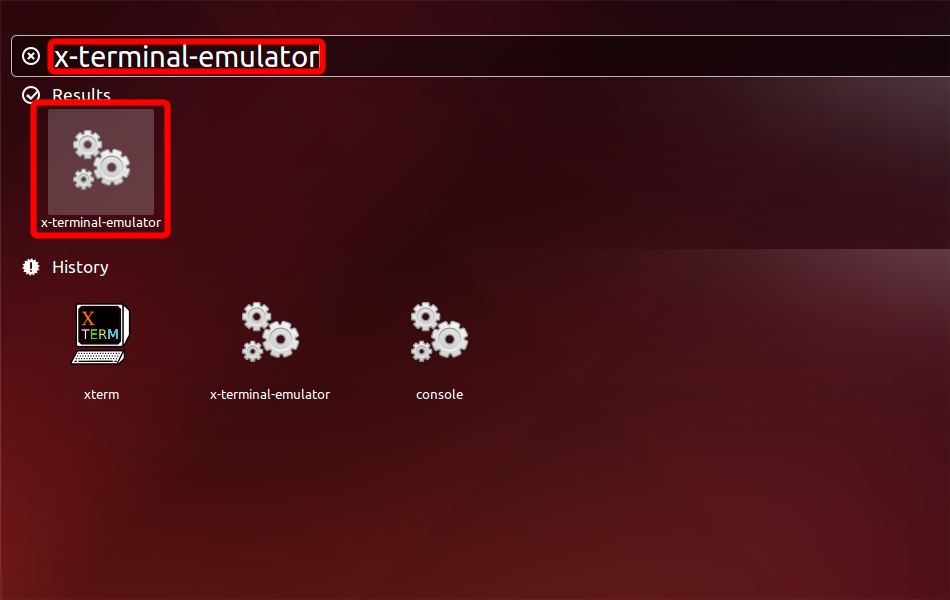
Terminal öykünücüsünü çalıştırın: Klavyede Alt+F2 tuşlarına basın, x-terminal-emulator yazın ve Enter'a basın.
Aşağıdaki komutla OpenVPN'i kurun.
sudo apt-get install network-manager-openvpn openvpn
For Ubuntu 16.04 install also network-manager-openvpn-gnome
sudo apt-get install network-manager-openvpn-gnome

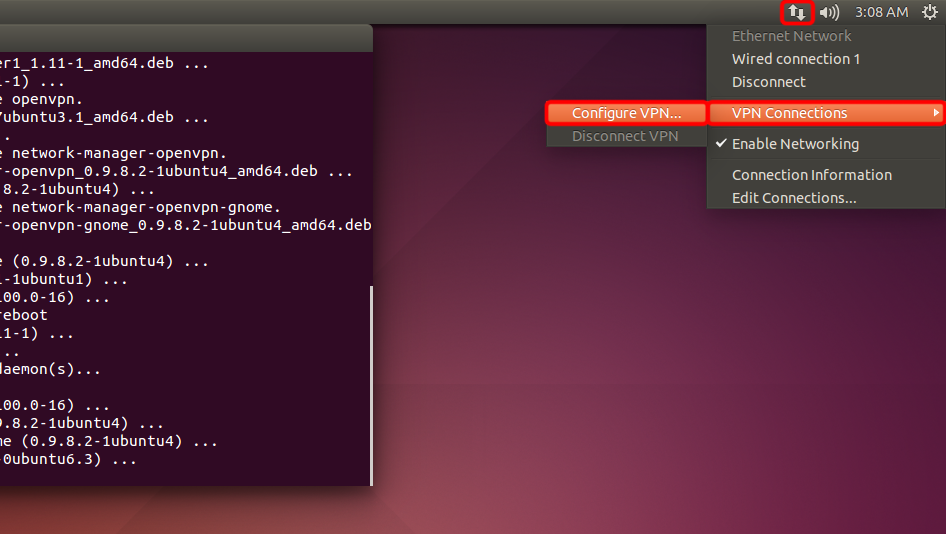
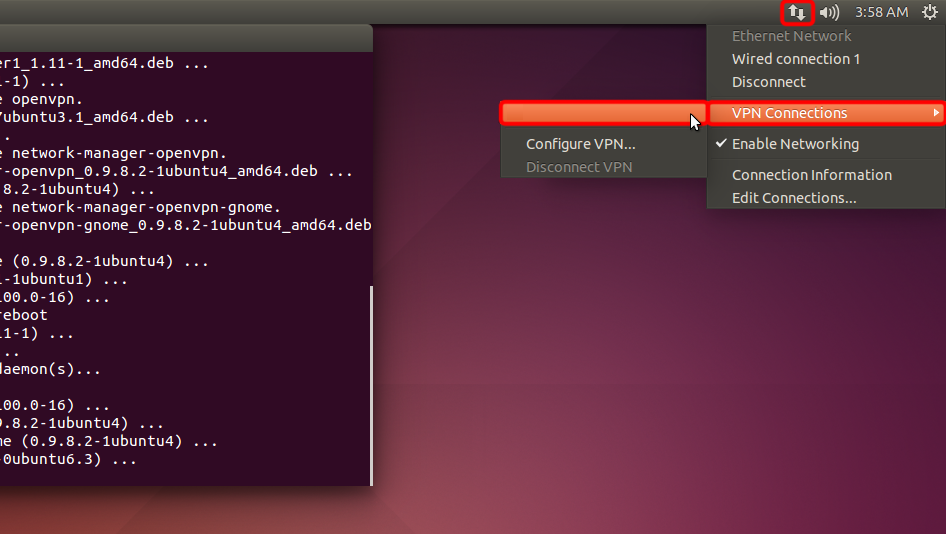
Ağ menüsünü açın, "VPN Bağlantıları"na gidin ve "VPN'yi Yapılandır..."a tıklayın.
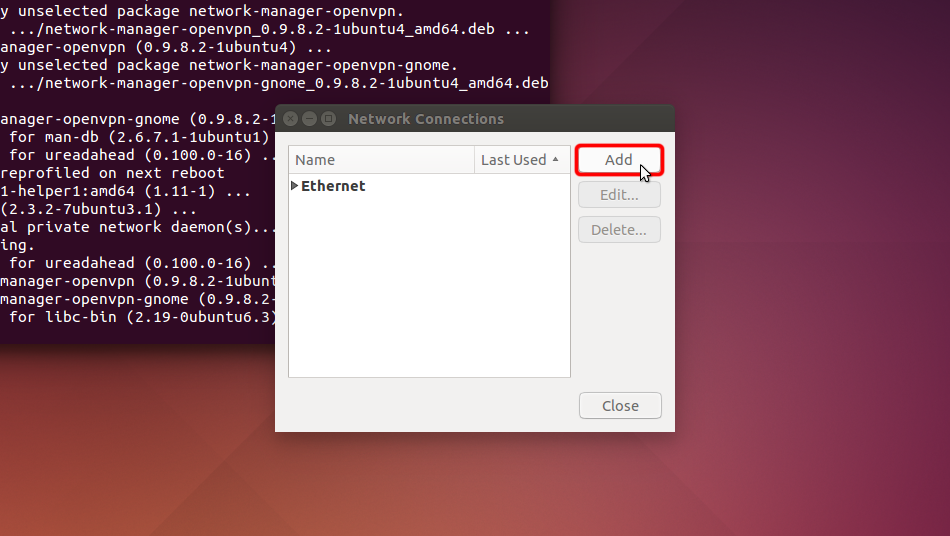
"Ekle" ye tıklayın.
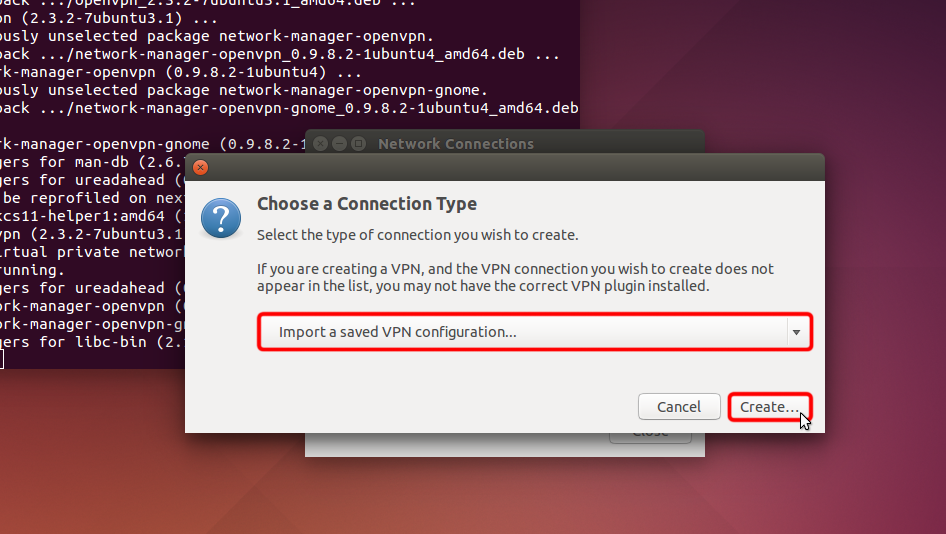
"Kaydedilmiş bir VPN yapılandırmasını içe aktar..." seçeneğine tıklayın. ve "Oluştur" u tıklayın
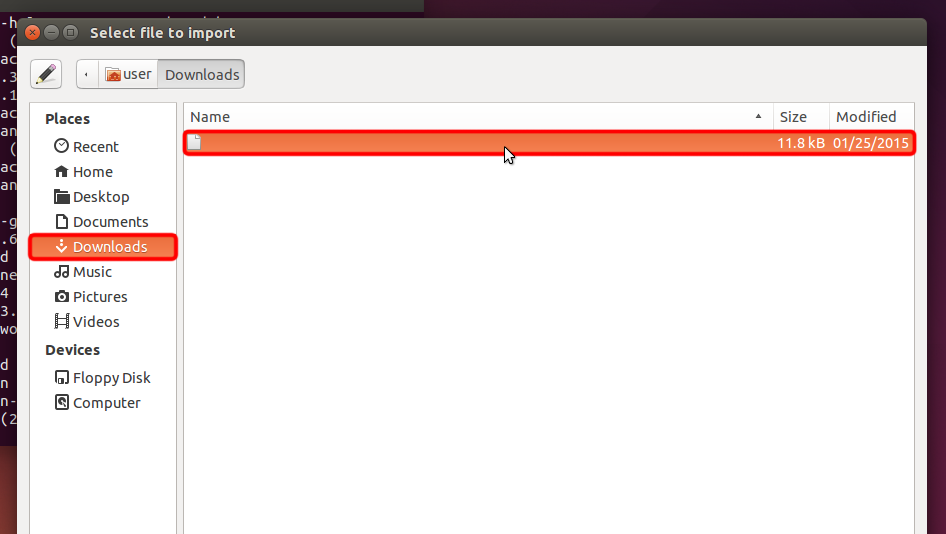
OpenVPN yapılandırma dosyasını (.ovpn dosyası) indirin, "İndirilenler" bölümünü seçin ve üzerine çift tıklayarak Trust.Zone-Switzerland.ovpn dosyasını açın.
OpenVPN (.ovpn) dosyası: GİZLİ. Giriş veya görmek için kaydolun.
 Trust.Zone-Switzerland.ovpn
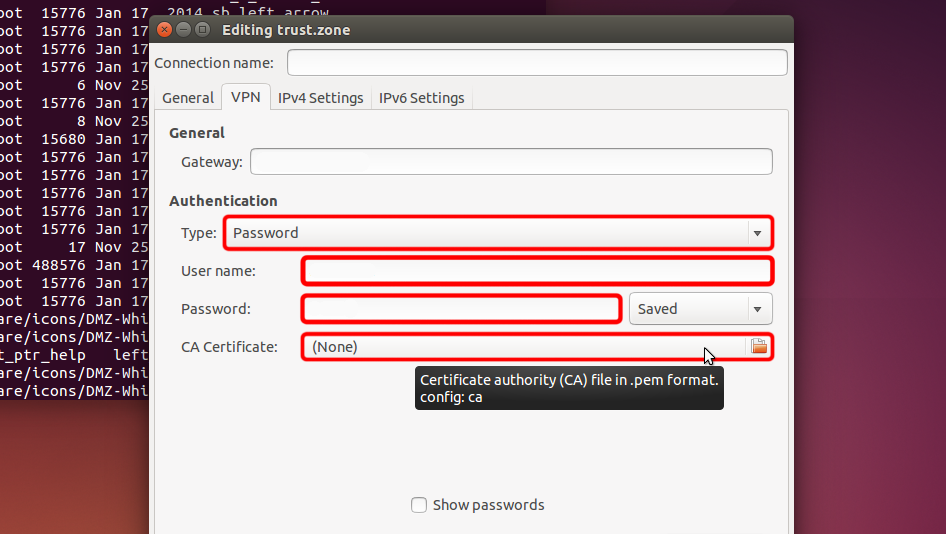
"Tür" açılır menüsünden "Şifre"yi seçin, VPN kullanıcı adınızı ve şifrenizi girin.
Your VPN Username: GİZLİ. Giriş veya görmek için kaydolun.
Your VPN Password: GİZLİ. Giriş veya görmek için kaydolun.
Sertifika dosyasını indirin ve sertifika dosyasını seçmek için "CA Sertifikası" dosya seçicisine tıklayın.
Certificate file: GİZLİ. Giriş veya görmek için kaydolun.
 Trust.Zone-Switzerland
ch.trust.zone
Trust.Zone-Switzerland
ch.trust.zone
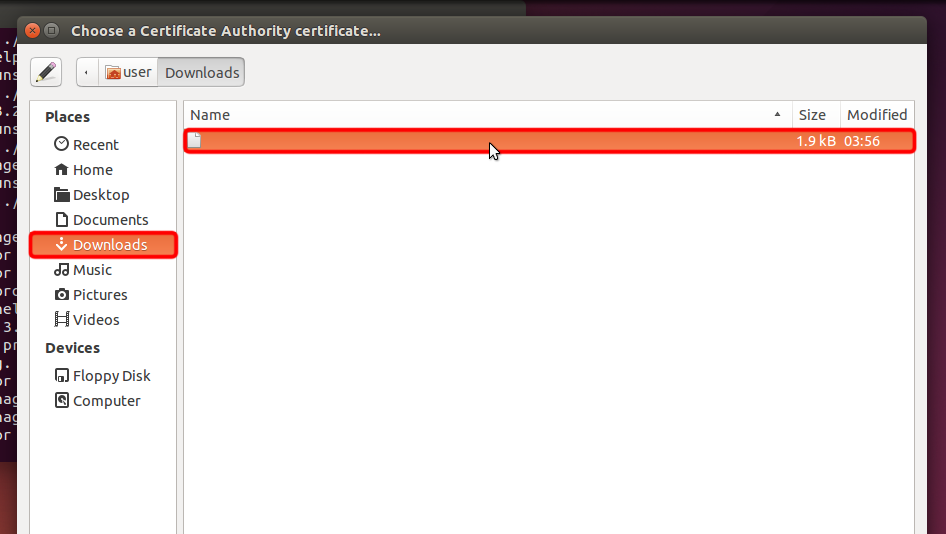
"İndirilenler"e gidin ve seçmek için sertifika adına çift tıklayın.
 Trust.Zone-Switzerland.pem
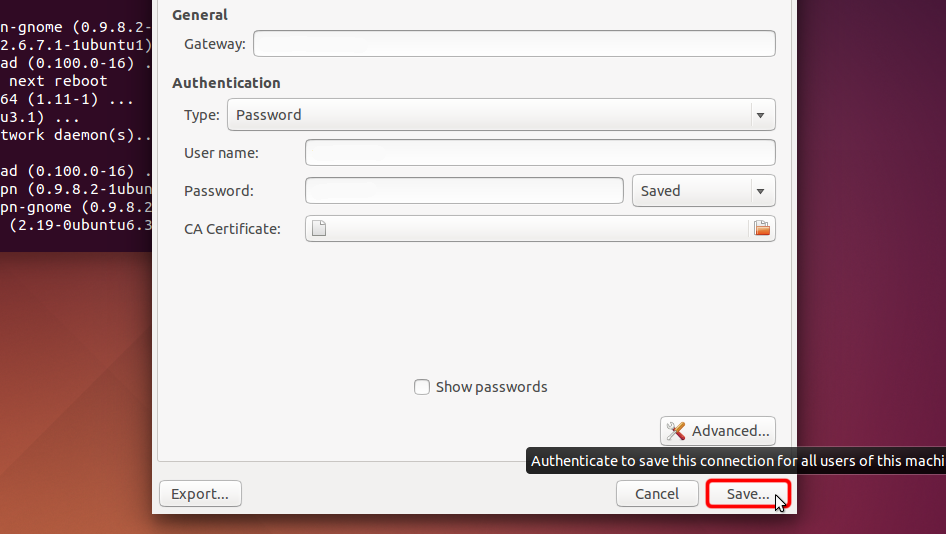
"Kaydet..." VPN bağlantı ayarlarını kaydetmek için.
 ch.trust.zone
Trust.Zone-Switzerland.pem
ch.trust.zone
Trust.Zone-Switzerland.pem
Ağ menüsü simgesine tıklayın, "VPN Bağlantıları"nı seçin ve bir VPN bağlantısı kurmak için oluşturduğunuz bağlantı adına tıklayın.
 Trust.Zone-Switzerland
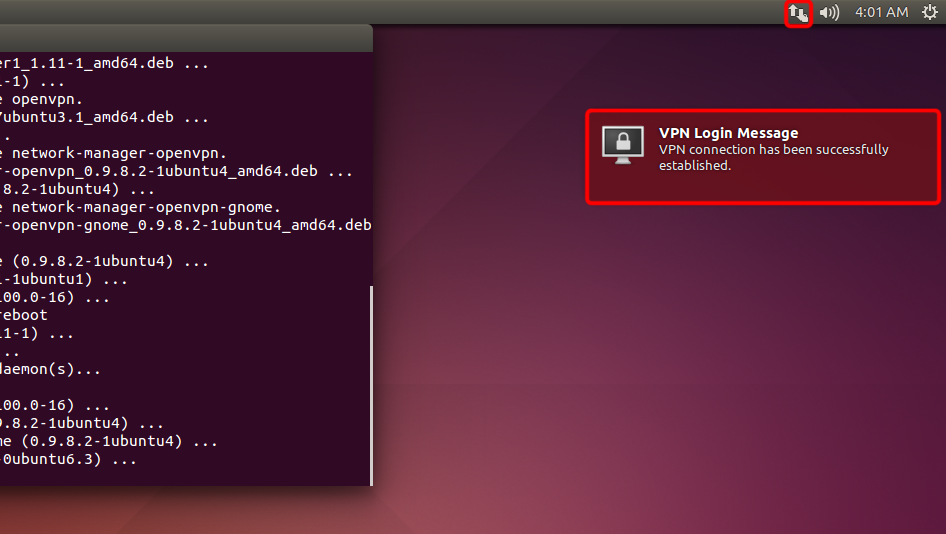
Bağlantı başarıyla kurulmuşsa, durum menü çubuğunda ve balon mesajında gösterilir.
VPN bağlantılarınızı yönetmek için "Ağ Bağlantıları" simgesine tıklayın, "VPN Bağlantıları" => "VPN'yi Yapılandır..."ı seçin.
Trust.Zone VPN'e bağlandıktan sonra IPv4 IP adresiniz değişecek, ancak IPv6 adresiniz aynı kalacaktır.
ISS'nizin IPv6'yı desteklememesi durumunda bu bir sorun değildir, ancak desteklemesi durumunda IPv6 adresiniz sızabilir.
IPv6'nın sızmasını önlemenin en iyi yolu, linux dağıtımınızda IPv6'yı devre dışı bırakmanızı öneririz. İşte bunu nasıl yapabileceğiniz.
IPv6'nın zaten devre dışı olup olmadığını kontrol etmek için lütfen aşağıdaki komutu çalıştırın:
cat /proc/sys/net/ipv6/conf/all/disable_ipv6
Komut 1 döndürürse, IPv6 zaten devre dışıdır ve aşağıdaki adımları atlayabilirsiniz. Dönüş değerinin 0 olması durumunda, lütfen aşağıdaki talimatları izleyin:
Lütfen /etc/sysctl.conf dosyasını favori metin düzenleyicinizde açın. Örneğimizde nano editör kullanacağız.
sudo nano /etc/sysctl.conf
Dosyanın sonuna aşağıdaki satırları ekleyin:
net.ipv6.conf.all.disable_ipv6 = 1
net.ipv6.conf.default.disable_ipv6 = 1
net.ipv6.conf.lo.disable_ipv6 = 1
Artık dosyayı kaydedebilir ve düzenleyiciden çıkabilirsiniz. Nano kullanmanız durumunda, değişiklikleri yazmak için Ctrl-O tuşlarına basmanız ve dosya yazmayı onaylamak için Enter tuşuna basmanız gerekir. Ardından düzenleyiciden çıkmak için Ctrl-X tuşlarına basabilirsiniz.
Çekirdek parametrelerini güncelleştirmek için aşağıdaki komutu çalıştırın:
sudo sysctl -p
Komut, /etc/sysctl.conf dosyasına eklediğiniz satırları döndürür.
Şimdi, cat /proc/sys/net/ipv6/conf/all/ komutunu çalıştırdığınızda disable_ipv6 komutun 1 döndürmesi gerekir. Bu, IPv6'nın devre dışı bırakıldığı ve dolayısıyla IPv6 sızıntısının artık mümkün olmadığı anlamına gelir.
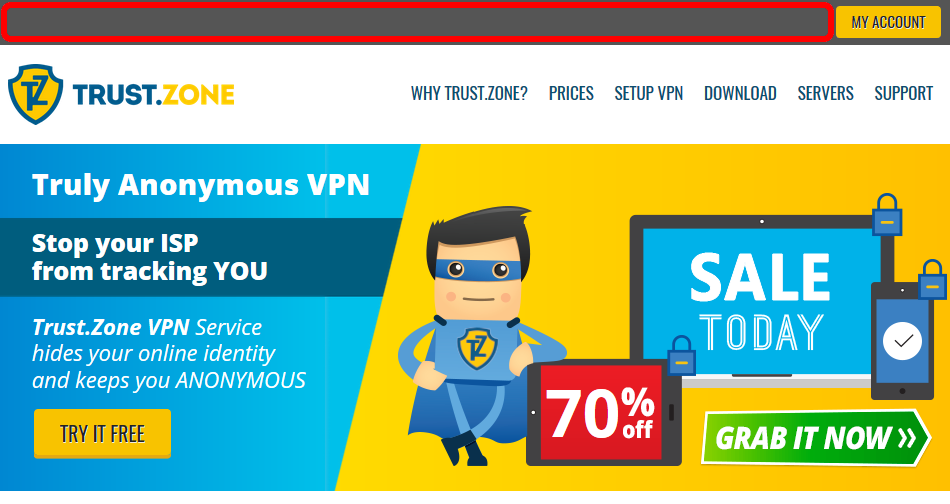
Trust.Zone Ana sayfasını oaçın ve Trust.Zone VPN ile bağlantınızın doğru kurulup kurulmadığını kontrol etmek için zaten açıksa yeniden yükleyin.
Ayrıca Bağlantı Kontrol Sayfamızı da ziyaret edebilirsiniz.
 IP adresiniz: x.x.x.x ·
  İsviçre ·
Şimdi TRUST.ZONE! Gerçek konumunuz gizli!
İsviçre ·
Şimdi TRUST.ZONE! Gerçek konumunuz gizli!
