Las siguientes instrucciones son adecuadas para Ubuntu 20.04 y Ubuntu 21.10.
Las instrucciones muestran cómo agregar soporte para el cliente VPN WireGuard en el Administrador de red de Ubuntu instalando el cliente WireGuard para el Administrador de red.
Ubuntu no tiene un plugin WireGuard para Network Manager en sus repositorios pero podemos compilarlo a partir del código fuente escrito por max-moser.
El código fuente está disponible en GutHub: https://github.com/max-moser/network-manager-wireguard.
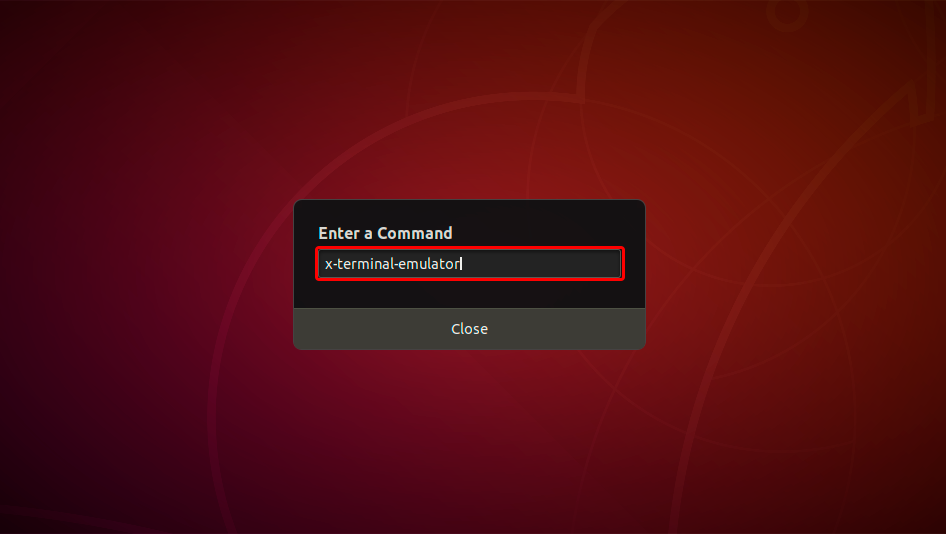
Ejecutar emulador de terminal: Presione Alt + F2 y escriba "x-terminal-emulator" y presione Entrar.
Primero debe actualizar su Ubuntu e instalar los paquetes necesarios.
Ejecute los siguientes comandos uno por uno y confirme la actualización e instalación de nuevos paquetes presionando "Y" cuando se le solicite:
sudo apt-get update
sudo apt install wireguard git dh-autoreconf libglib2.0-dev intltool build-essential libgtk-3-dev libnma-dev libsecret-1-dev network-manager-dev resolvconf
Ejecute los siguientes comandos de uno en uno para descargar el código fuente del repositorio GIT, compilar e instalar.
git clone https://github.com/max-moser/network-manager-wireguardAfter installations is complete please Reboot your Ubuntu.
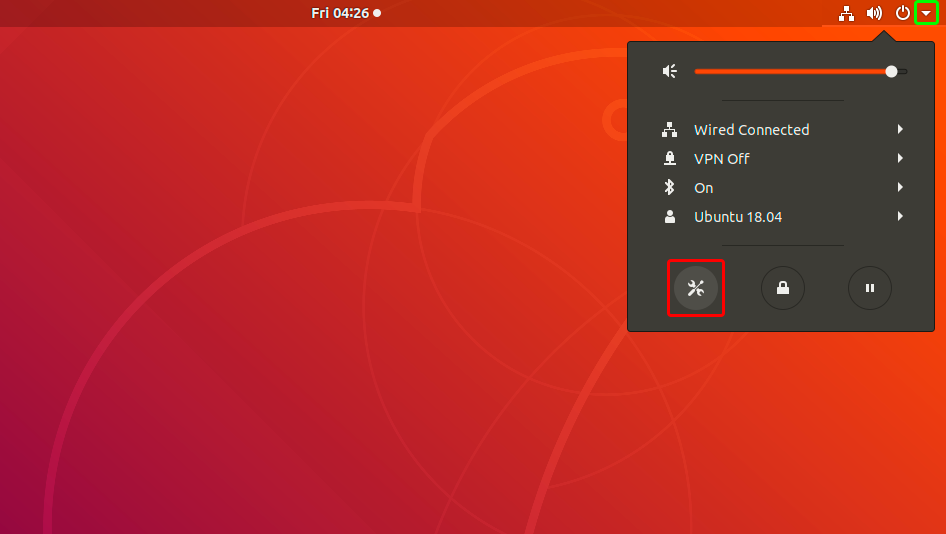
Abra el menú superior y haga clic en el icono Herramientas para abrir Configuración de red.
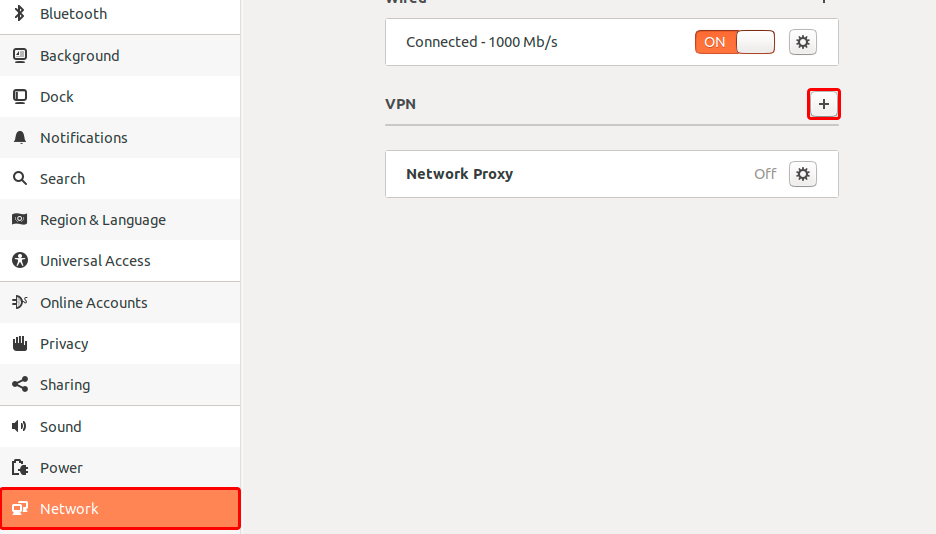
Busque la sección VPN y haga clic en el botón "+" para comenzar a crear una nueva configuración de VPN.
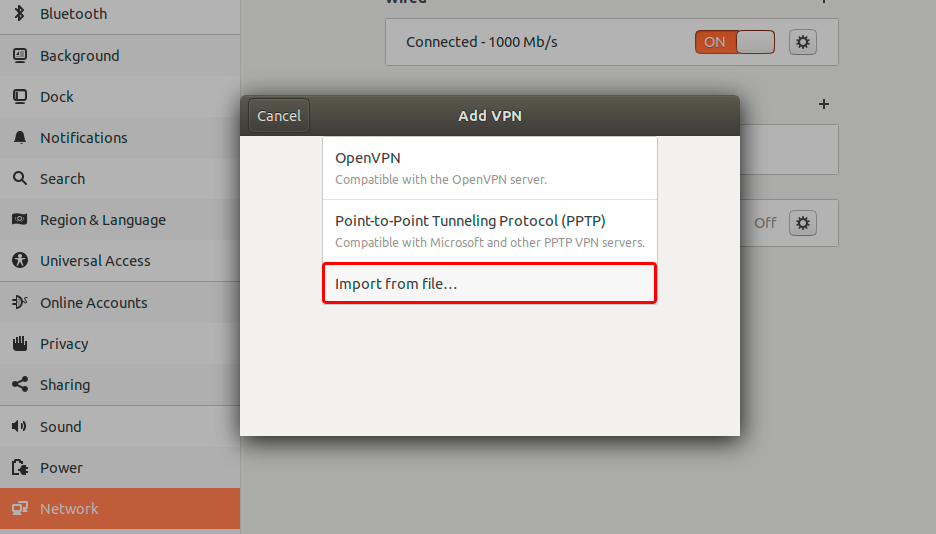
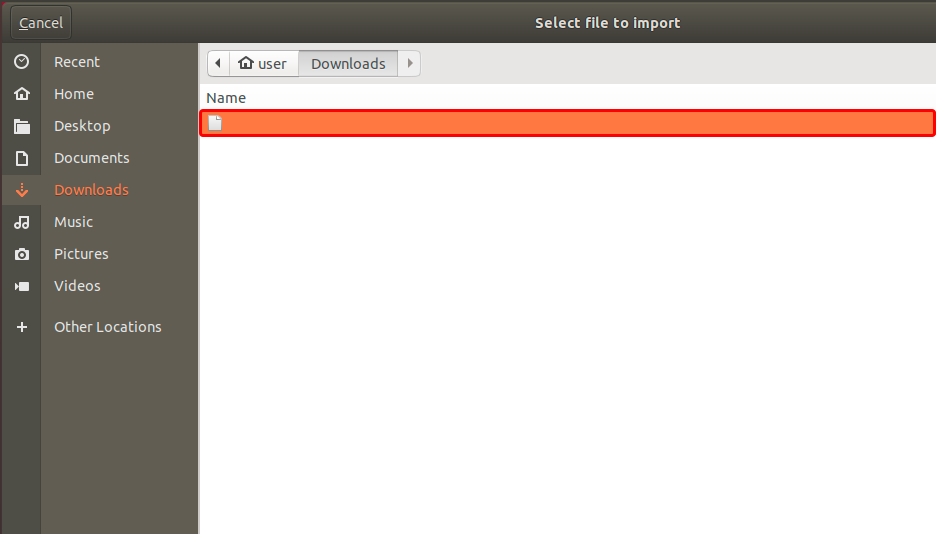
Haga clic en "Importar desde archivo...".
Descargue el archivo de configuración de WireGuard (archivo .conf), seleccione la sección "Descargas" y abra el archivo uk-lcy.tz.conf haciendo doble clic en él.
Archivo de túnel WireGuard: OCULTO. Entre o Regístrese para ver.
 uk-lcy.tz.conf
Haga clic en el botón verde "Agregar" para agregar la configuración de VPN.
 uk-lcy.tz
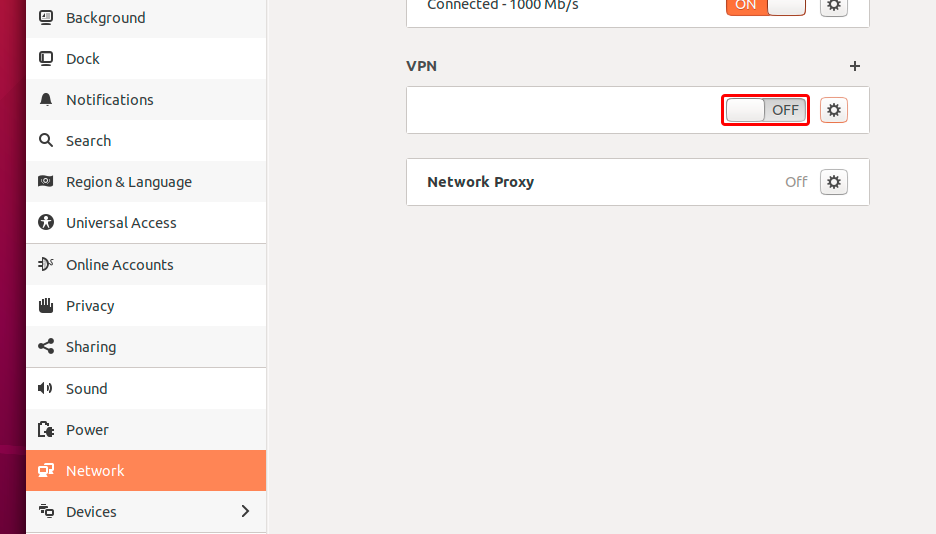
Haga clic en el interruptor de encendido/apagado cerca del nombre de la conexión VPN para comenzar a conectarse.
 uk-lcy.tz VPN
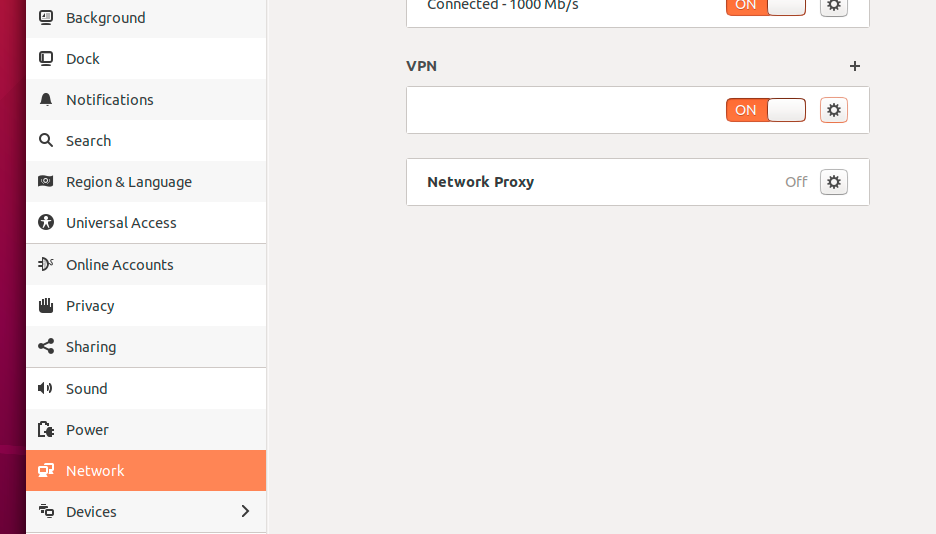
Una vez establecida la conexión, el color del interruptor cambiará de gris a naranja.
 uk-lcy.tz VPN
Después de conectarse a la VPN de Trust.Zone, su dirección IP IPv4 cambiará, pero su dirección IPv6 seguirá siendo la misma.
Esto no es un problema en caso de que su ISP NO admita IPv6, pero en caso de que lo haga, su dirección IPv6 puede filtrarse.
La mejor manera de evitar que IPv6 se filtre, recomendamos deshabilitar IPv6 en su distribución de Linux. A continuación te explicamos cómo puedes hacerlo.
Para verificar si IPv6 ya está deshabilitado, ejecute el siguiente comando:
cat /proc/sys/net/ipv6/conf/all/disable_ipv6
Si el comando devuelve 1, entonces IPv6 ya está deshabilitado y puede omitir los pasos a continuación. En caso de que el valor devuelto sea 0, siga las instrucciones a continuación:
Ejecute los siguientes comandos para deshabilitar IPv6 para la sesión actual de Ubuntu:
sudo sysctl -w net.ipv6.conf.all.disable_ipv6=1
sudo sysctl -w net.ipv6.conf.default.disable_ipv6=1
Para deshabilitar IPv6 durante el inicio de Ubuntu, recomendamos editar la configuración del cargador de GRUB.
Por favor, abra el archivo /etc/default/grub en su editor de texto favorito. En nuestro ejemplo usaremos nano editor.
sudo nano /etc/default/grub
Localiza las siguientes líneas
GRUB_CMDLINE_LINUX_DEFAULT="quiet"
GRUB_CMDLINE_LINUX="find_preseed=/preseed.cfg auto noprompt priority=critical locale=en_US"
Agregue el parámetro ipv6.disable=1 al final de los valores de los parámetros GRUB_CMDLINE_LINUX_DEFAULT y GRUB_CMDLINE_LINUX (entre comillas):
Después de editar, debería obtener las siguientes líneas:
GRUB_CMDLINE_LINUX_DEFAULT="quiet ipv6.disable=1"
GRUB_CMDLINE_LINUX="find_preseed=/preseed.cfg auto noprompt priority=critical locale=en_US ipv6.disable=1"
Ahora puedes guardar el archivo y salir del editor. En caso de que use nano, debe presionar Ctrl-O para escribir los cambios y presionar Enter para confirmar la escritura del archivo. A continuación, puede pulsar Ctrl-X para salir del editor.
Ejecute el siguiente comando para aplicar los cambios de GRUB:
sudo update-grub
El comando devolverá el siguiente resultado:
user@ubuntu:~$ sudo update-grub

Sourcing file `/etc/default/grub'

Generating grub configuration file ...

Found linux image: /boot/vmlinuz-5.4.0-66-generic

Found initrd image: /boot/initrd.img-5.4.0-66-generic

Found linux image: /boot/vmlinuz-5.4.0-42-generic

Found initrd image: /boot/initrd.img-5.4.0-42-generic

Found memtest86+ image: /boot/memtest86+.elf

Found memtest86+ image: /boot/memtest86+.bin

done
Abra la página oprincipal de Trust.Zone y vuelva a cargarla si ya está abierta para comprobar si su conexión con Trust.Zone VPN está establecida correctamente.
También puede visitar nuestra página de verificación Connection.
 Tu IP: x.x.x.x ·
  Reino Unido ·
¡Estás en TRUST.ZONE ahora! ¡Tu verdadera localización está oculta!
Reino Unido ·
¡Estás en TRUST.ZONE ahora! ¡Tu verdadera localización está oculta!
