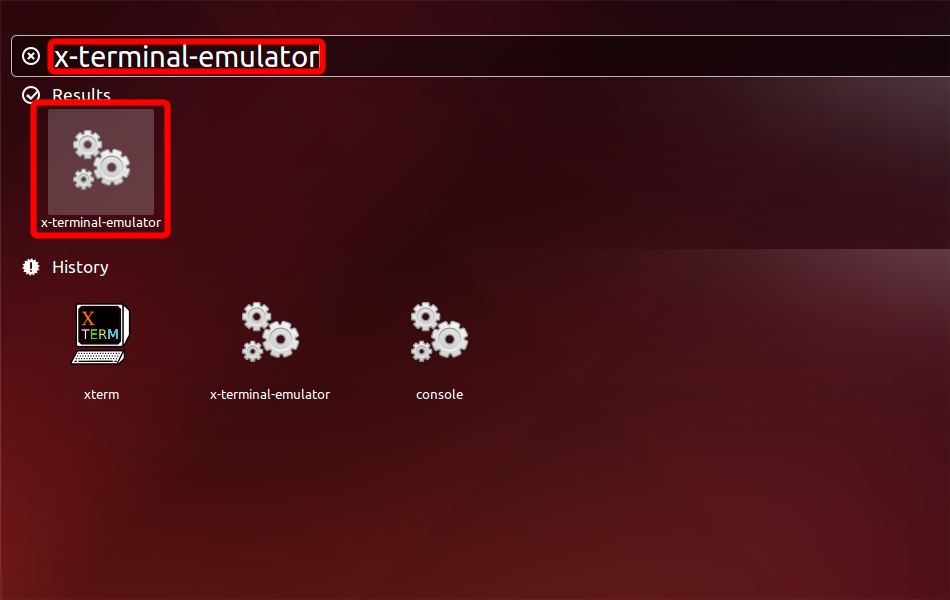
Run Terminal emulator: Press Alt+F2 on the keyboard, type x-terminal-emulator and press Enter.
Install OpenVPN with the following command.
sudo apt-get install network-manager-openvpn openvpn
For Ubuntu 16.04 install also network-manager-openvpn-gnome
sudo apt-get install network-manager-openvpn-gnome

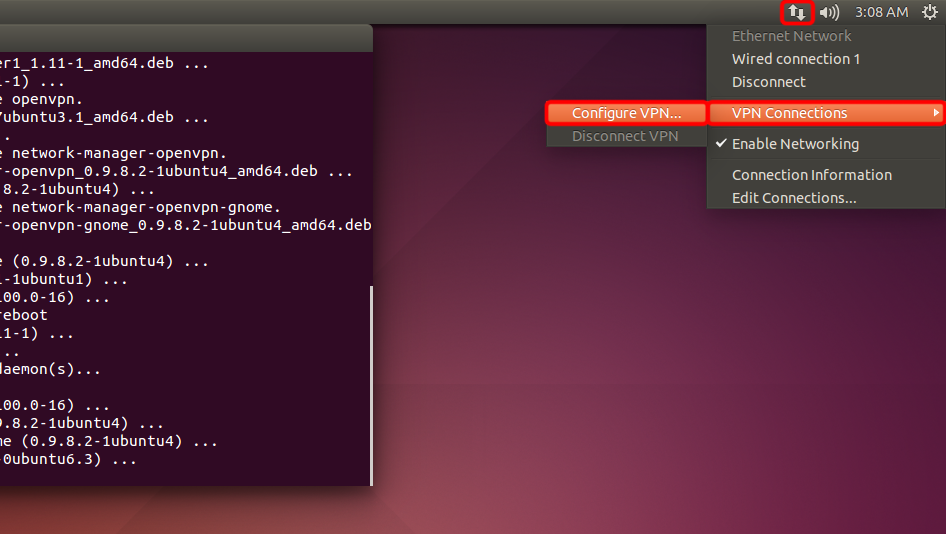
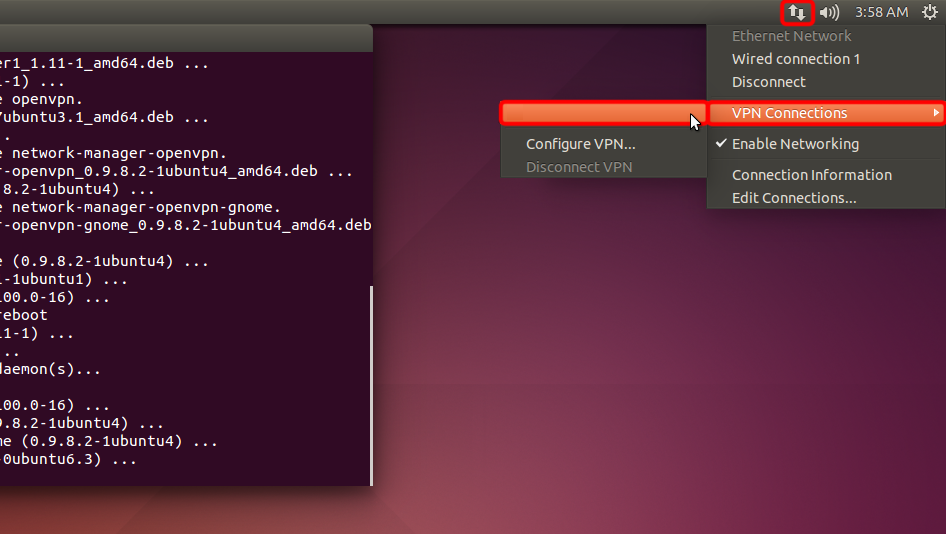
Open the network menu, go to "VPN Connections" and click on "Configure VPN...".
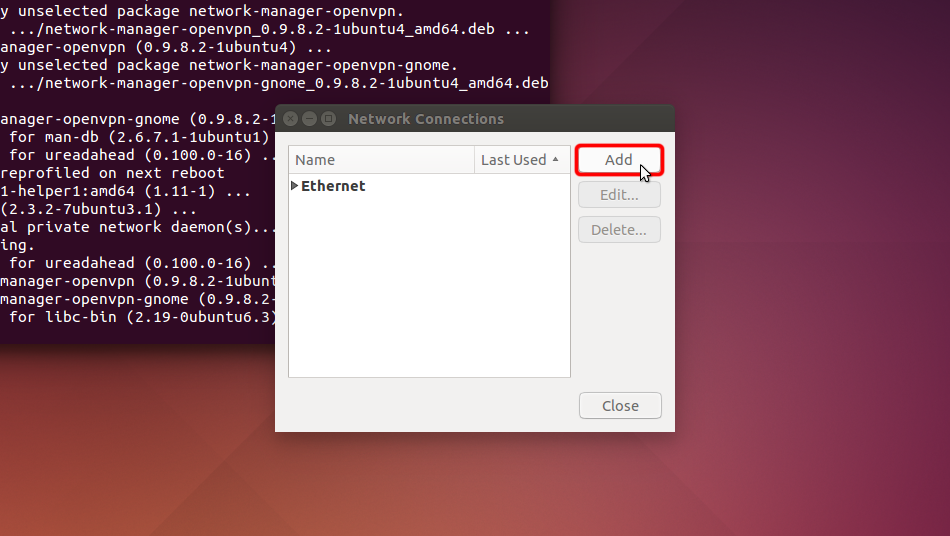
Click on "Add".
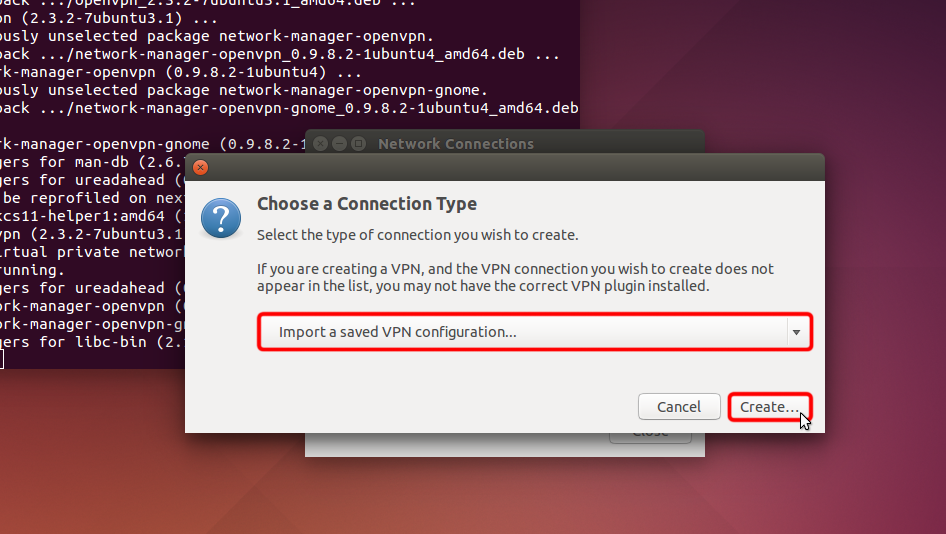
Click on "Import a saved VPN configuration..." and click "Create"
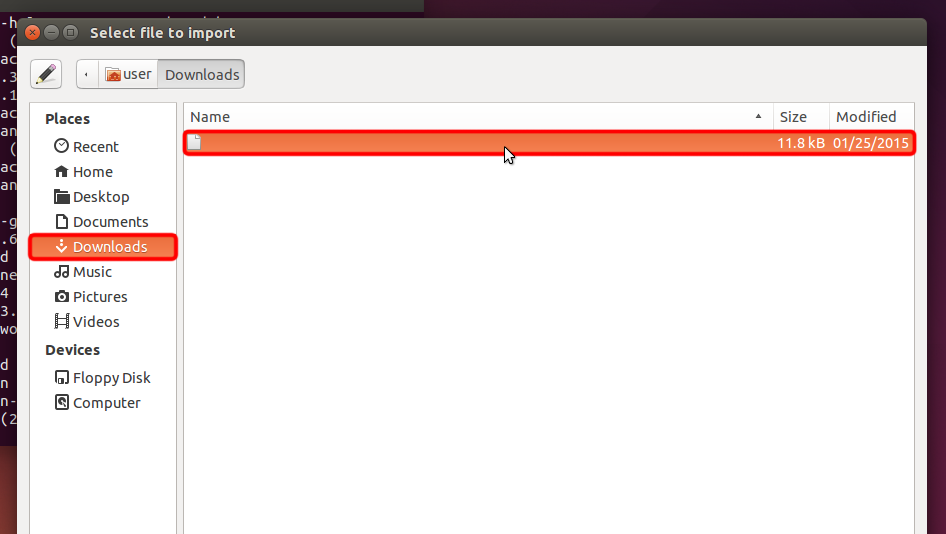
Download the OpenVPN configuration file (.ovpn file), select "Downloads" section, and open Trust.Zone-Bulgaria.ovpn file by double click on it.
OpenVPN (.ovpn) file: HIDDEN. Log in or Sign up to see.
 Trust.Zone-Bulgaria.ovpn
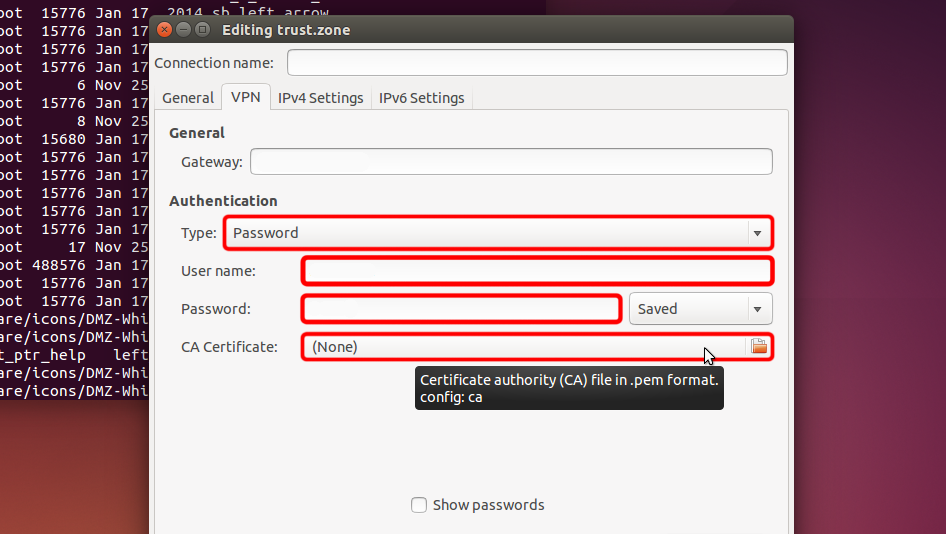
Select "Password" from "Type" drop-down menu, enter your VPN username and password.
Your VPN Username: HIDDEN. Log in or Sign up to see.
Your VPN Password: HIDDEN. Log in or Sign up to see.
Download certificate file and click "CA Certificate" file chooser to choose certificate file.
Certificate file: HIDDEN. Log in or Sign up to see.
 Trust.Zone-Bulgaria
bg.trust.zone
Trust.Zone-Bulgaria
bg.trust.zone
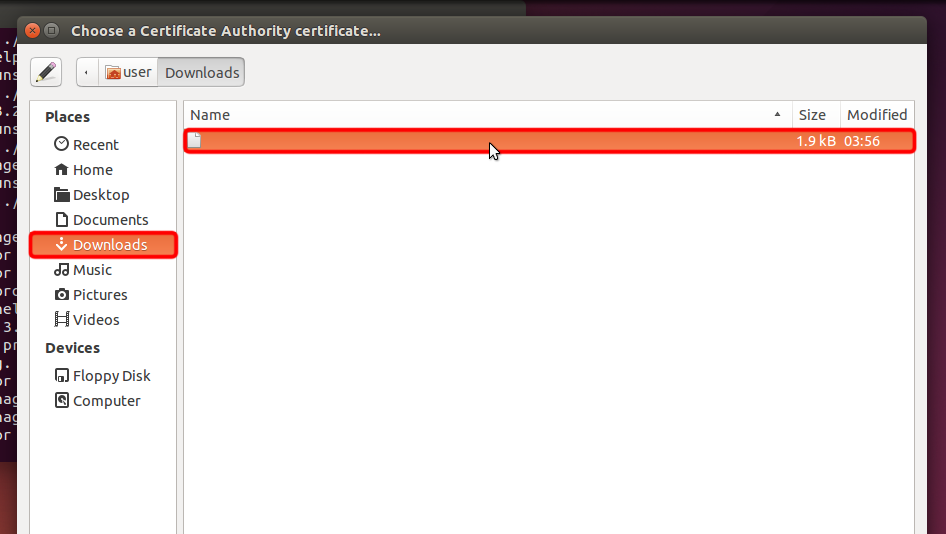
Navigate to "Downloads" and double click on certificate name to choose it.
 Trust.Zone-Bulgaria.pem
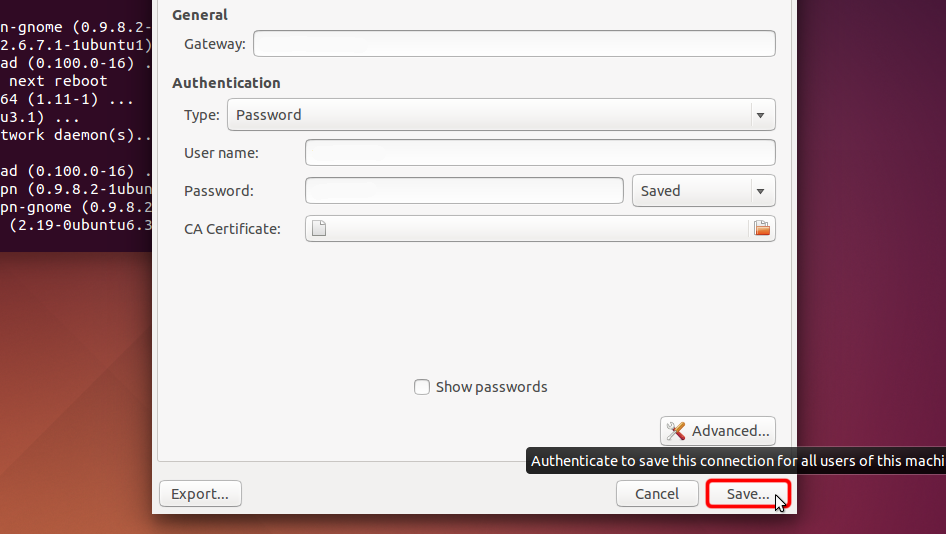
Сlick "Save..." in order to save VPN connection settings.
 bg.trust.zone
Trust.Zone-Bulgaria.pem
bg.trust.zone
Trust.Zone-Bulgaria.pem
Click network menu icon, choose "VPN Connections" and click on your created connection name to establish a VPN connection.
 Trust.Zone-Bulgaria
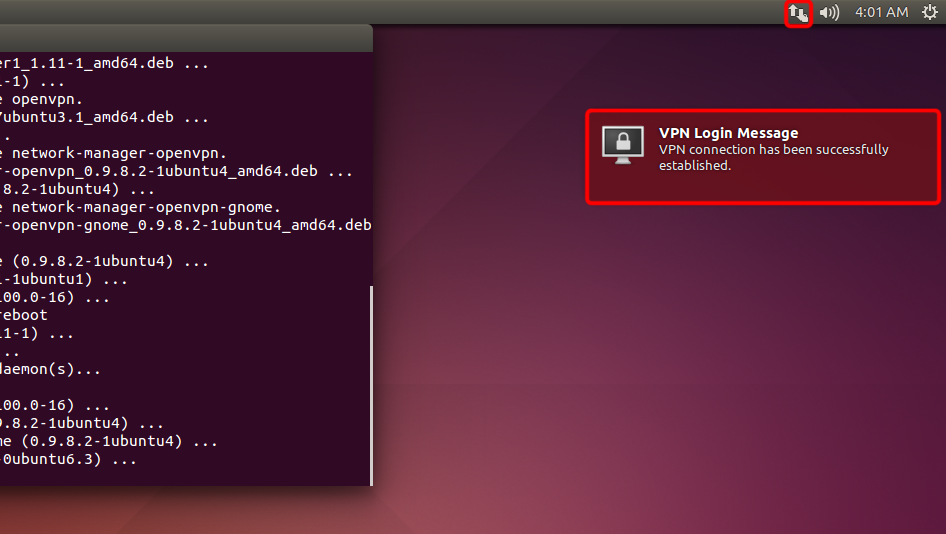
If connection has been successfully established, the status is shown in the menu bar and in balloon message.
In order to manage your VPN connections click "Network Connections" icon, choose "VPN Connections" => "Configure VPN...".
After you get connected to the Trust.Zone VPN your IPv4 IP address will change, but your IPv6 address will remain the same.
This is not a problem in case your ISP does NOT support IPv6, but in case it does, your IPv6 address may leak.
The best way to prevent IPv6 from leaking we recommend to disable IPv6 in your linux distro. Here is how you can do that.
To check if IPv6 is already disabled please run the following command:
cat /proc/sys/net/ipv6/conf/all/disable_ipv6
If command returns 1, then IPv6 is already disabled and you can skip steps below. In case return value is 0, please follow the instructions below:
Please open /etc/sysctl.conf file in your favorite text editor. In our example we will use nano editor.
sudo nano /etc/sysctl.conf
Add the following lines at the end of the file:
net.ipv6.conf.all.disable_ipv6 = 1
net.ipv6.conf.default.disable_ipv6 = 1
net.ipv6.conf.lo.disable_ipv6 = 1
Now you can save the file and exit the editor. In case you use nano, you need to press Ctrl-O to write changes and press Enter to confirm file write. Then you can press Ctrl-X to exit the editor.
Run the following command to update kernel parameters:
sudo sysctl -p
The command will return lines you've added to /etc/sysctl.conf
Now, when you run cat /proc/sys/net/ipv6/conf/all/disable_ipv6 the command should return 1. This means IPv6 is disabled, so IPv6 leak is no longer possible.
Open Trust.Zone Main page or reload it if it is already open in order to check if your connection with Trust.Zone VPN is established correctly.
You can also visit our Connection Check Page.
 Your IP: x.x.x.x ·
  Bulgaria ·
You are in TRUST.ZONE now! Your real location is hidden!
Bulgaria ·
You are in TRUST.ZONE now! Your real location is hidden!
