Télécharger le OpenVPN Client.

Exécutez le programme d’installation avec des privilèges d’administrateur et suivez les étapes d’installation. Confirmez les messages de sécurité Windows.
Ouvrez l’explorateur de fichiers et accédez au répertoire où vous avez téléchargé le fichier d’installation du client OpenVPN. Par défaut, il s’agit du répertoire « Téléchargements ». Sélectionnez le fichier d’installation avec le clic gauche, puis faites un clic droit dessus et faites un clic gauche « Exécuter en tant qu’administrateur ».

Cliquez sur Suivant >

Cliquez sur « J’accepte » si vous êtes d’accord avec l’accord

Cliquez sur Suivant >

Cliquez sur « Installer »

Il est possible que cette boîte de dialogue n’apparaisse pas.
Cliquez sur « Installer » si la boîte de dialogue Sécurité Windows apparaît.
Cela installera l’adaptateur réseau TAP-Windows Provider V9 nécessaire au fonctionnement d’OpenVPN.

Cliquez sur Suivant >

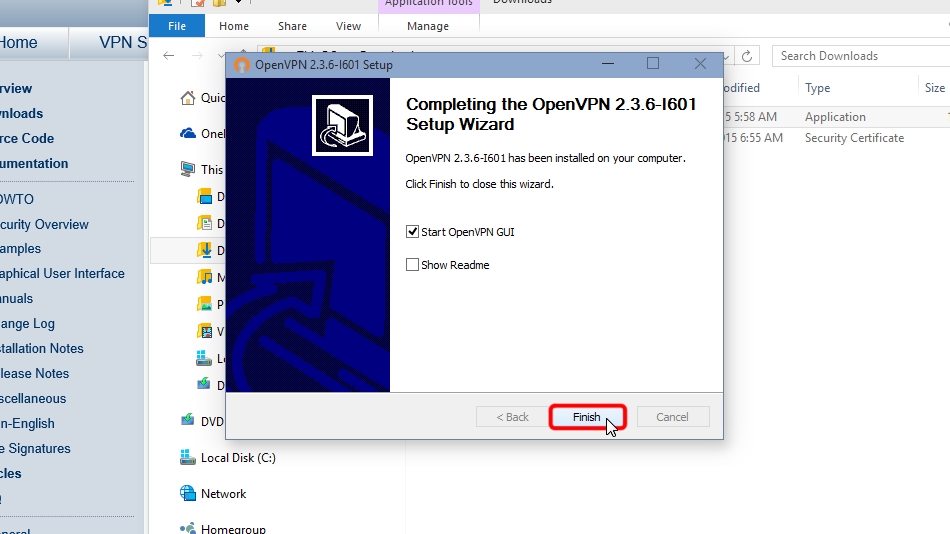
Cliquez sur « Terminer »

De cette façon, vous aurez installé le client OpenVPN
Configurer OpenVPN
Téléchargez le(s) fichier(s) de configuration. Si vous souhaitez stocker vos informations de connexion de manière permanente au format texte ouvert et non crypté, veuillez télécharger les fichiers suivants :
Fichier OpenVPN (.ovpn): Caché. Connectez-vous ou inscrivez-vous pour voir.
Si vous ne souhaitez pas stocker votre login/mot de passe non crypté dans userpass.txt et que vous souhaitez mettre le login/mot de passe manuellement chaque fois que vous vous connectez à Trust.Zone (plus sécurisé), veuillez télécharger le fichier de configuration OpenVPN suivant
Fichier OpenVPN (.ovpn): Caché. Connectez-vous ou inscrivez-vous pour voir.
Copiez les fichiers téléchargés dans le dossier de configuration d’OpenVPN (par défaut C :/Program Files/OpenVPN/config/) et confirmez les messages de sécurité Windows.
Voici les instructions en détail : Téléchargez le(s) fichier(s) de configuration, ouvrez le dossier « Téléchargements », sélectionnez(s) le(s) fichier(s) de configuration téléchargé(s), sélectionnez(s) le(s) fichier(s), cliquez-dessus avec le bouton droit de la souris et cliquez sur « Copier ».
 Trust.Zone-VPN
Navigate to your OpenVPN "config" folder, by-defalut this is "C:Program FilesOpenVPNconfig" and paste config file(s) there: right click on free space in folder then click "Paste".

Cliquez sur « Continuer » afin de fournir l’autorisation de l’administrateur de copier le(s) fichier(s).

Vous avez maintenant le(s) fichier(s) de configuration au bon endroit.
 Trust.Zone-VPN
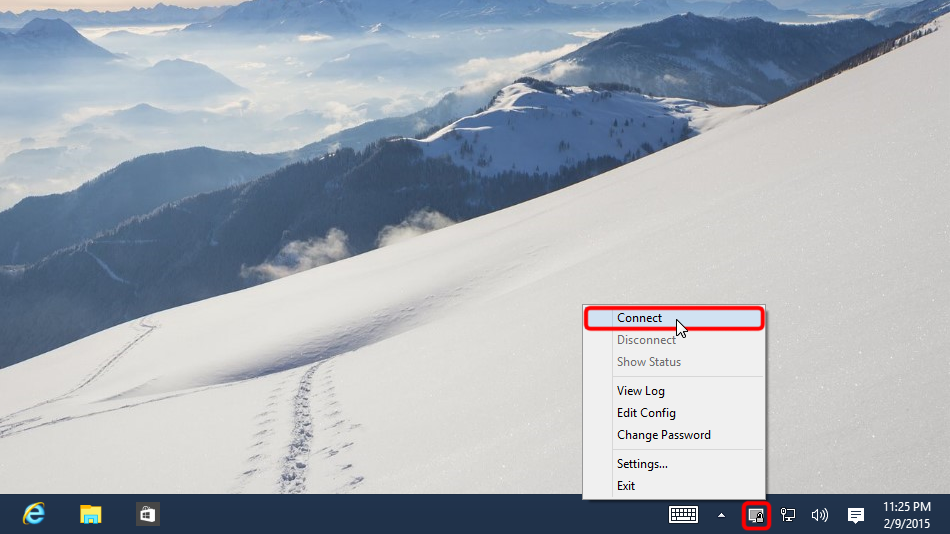
En cas de configuration d’une connexion unique. Faites un clic droit sur l’icône de la barre d’état OpenVPN et cliquez sur « Connecter ».

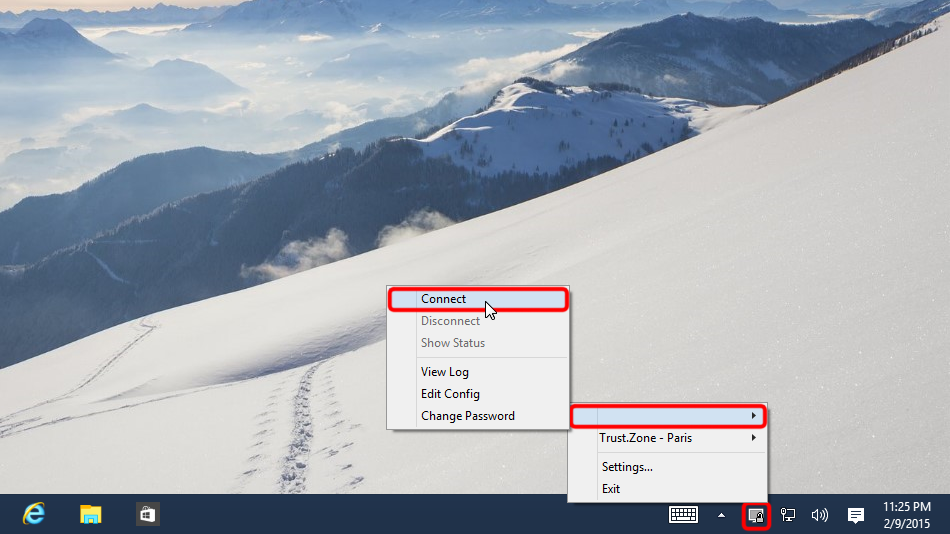
Si vous avez plusieurs connexions configurées. Faites un clic droit sur l’icône de la barre d’état OpenVPN, sélectionnez l’emplacement auquel vous souhaitez vous connecter et cliquez sur « Connecter ».
 Trust.Zone-VPN
Entrez le nom d’utilisateur et le mot de passe (au cas où vous ne l’auriez pas utilisé userpass.txt)
Your VPN Username: Caché. Connectez-vous ou inscrivez-vous pour voir.
Your VPN Password: Caché. Connectez-vous ou inscrivez-vous pour voir.
 (Trust.Zone-VPN)
Une fois la connexion établie avec succès, l’icône OpenVPN devient verte. Vous pouvez gérer votre connexion VPN avec OpenVPN.
 Trust.Zone-VPN
Ouvrez la Page Oprincipale de Trust.Zone et rechargez-la si elle est déjà ouverte afin de vérifier si votre connexion avec le VPN Trust.Zone est correctement établie.
Vous pouvez également visiter notre Page de Vérification de Connexion.
 Votre IP: x.x.x.x ·
  France ·
Votre emplacement réel est caché!